Last updated on June 28th, 2026 at 10:45 am
Ross at 2 minute tabletop creates amazing battle maps and buildings for tabletop RPGs. I love his art style and he has a huge collection of maps and buildings with several new ones added each month. I’ll talk about the maps in another post, but today I’m going to focus on the buildings and how I turn them into something ready for the table.
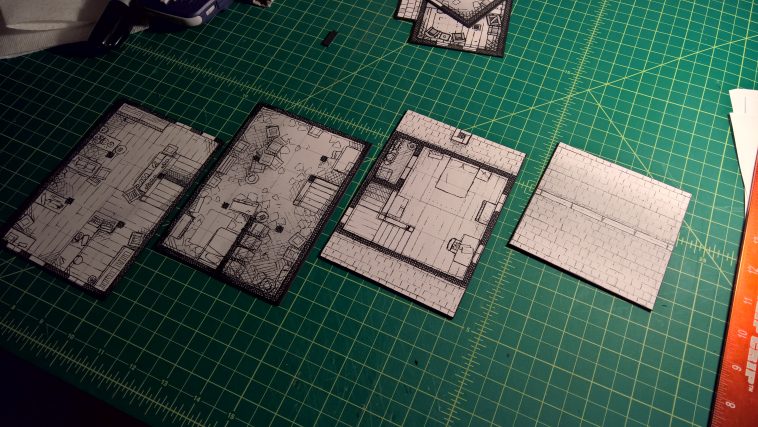
Each building set contains a number of floors which can be stacked on top of each other and removed as the adventurers explore each floor. As well as a full colour version Ross includes line art and black and white versions, this is fantastic because I prefer a black and white old school style for my tabletop gaming. Think illustrations in 1st edition AD&D and you get the idea.
This guide will show you how to create great looking and heard wearing buildings, mounted on thick card and lacquer coated to last for a lifetime of gaming sessions.
The process is heavily based on Dining Table Print & Play‘s excellent tutorial on making playing cards. He uses linen paper and spray lacquer to get a playing card finish. I highly recommend his channel and this video in particular if you have any interest in creating your own maps and props as well as print and play gaming.
Some assembly required
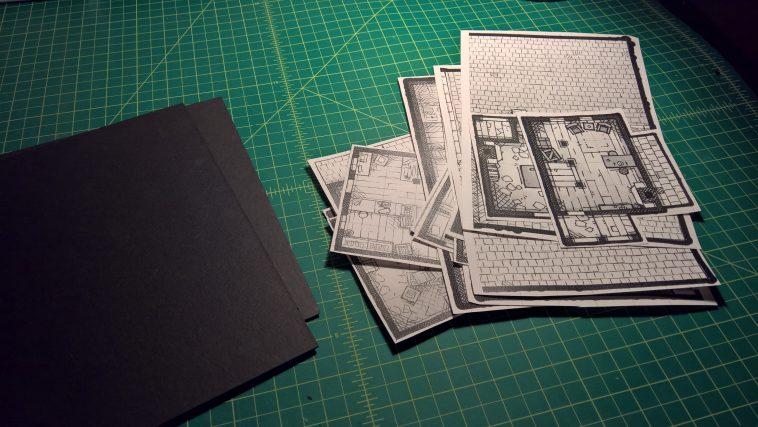
The first step was to print the buildings out on linen paper (available at Amazon). This gives great results with a laser printer, and should look good on a ink jet too, especially in colour. Once everything is printed I roughly cut out the buildings leaving a good margin of 10mm or 1/2 inch.
For the spray lacquer I used Krylon Colormaster Crystal Clear Gloss Spray Acrylic. Make sure you’re in a well ventilated area and use scrap paper or a box to contain the spray. I use two coats, with 5 minutes between, then leave 15 minutes to dry.
You’ll also need some thick cardboard to back the prints. Framing Mat board is perfect for this and widely available at hobby shops and graphic supply stores.
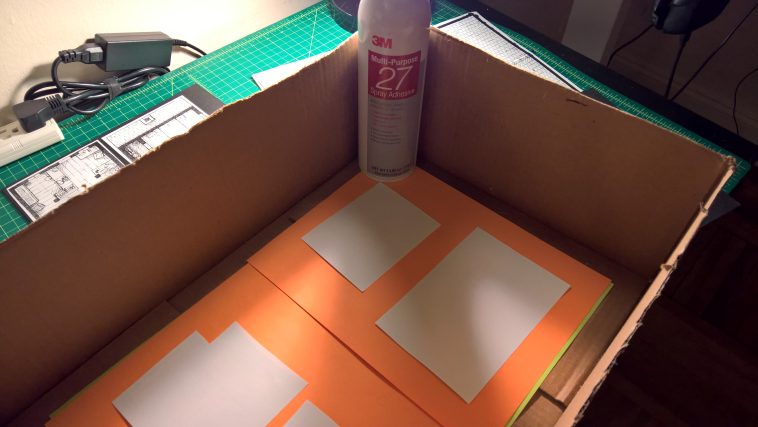
After test fitting the paper on the backing board to work out where everything is going to go I apply spray adhesive to the back of the paper, then press onto the board.
The glue is super tacky so you have to get this right first time or it’ll be a nightmare to move. You can use a piece of kitchen roll so smooth down the paper, the lacquer stops the ink from smudging.
Now everything is stuck together you can start to cut out each section. I used the grid on the cutting mat to get nice 90 degree angles. Make the first cut, then line up that edge on the grid and place the ruler perpendicular to get a right angle cut. Rotate the board and repeat until you’re finished.
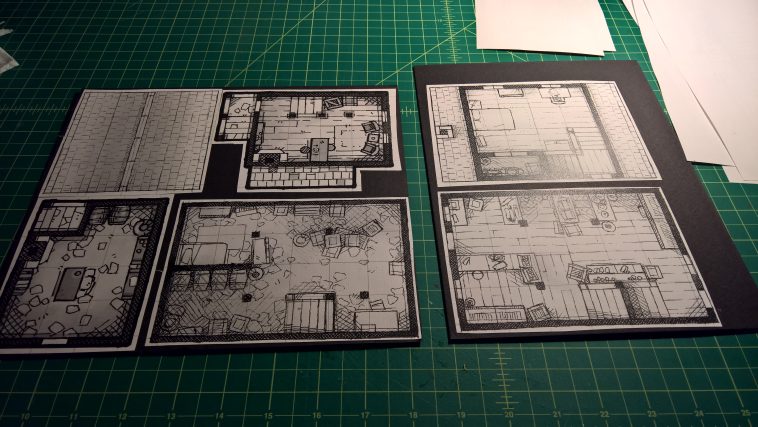
To cover up any white margin and hide the white of the paper edge use a black marker pen, the bigger the better.. The camera makes the pen looks shiny and purple, but it looks good in real life.
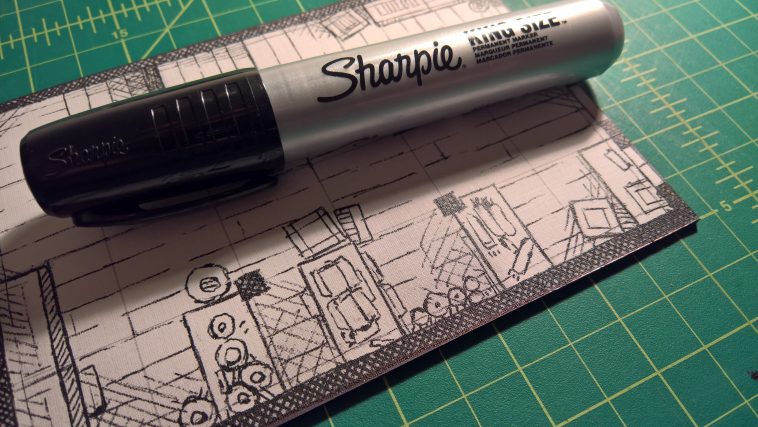
To get each floor the same size I use one floor to measure the other, lining it up then placing the ruler on top and making the cut.
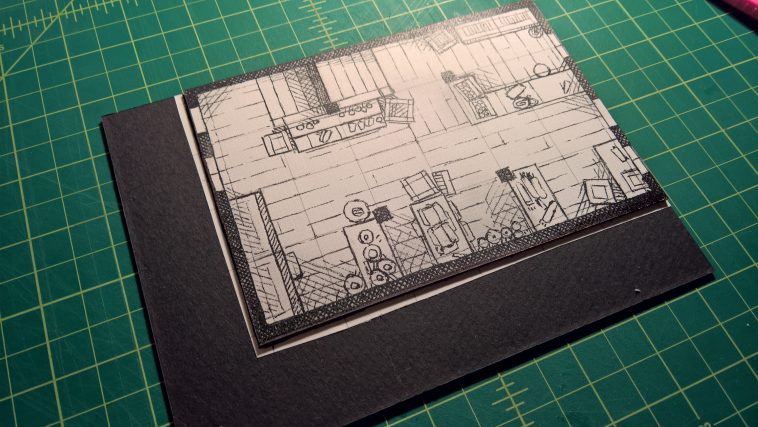
A finished building, with each floor exactly the same size.
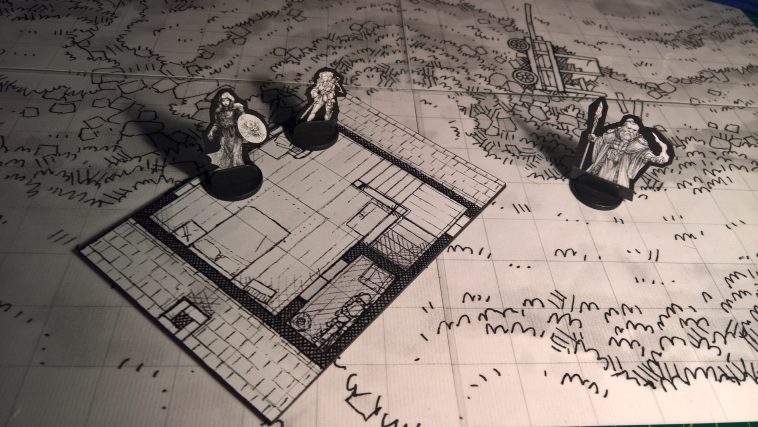
The final product on the table. The battle mat is also printed on linen paper then laminated to produce a wipe down surface, perfect for drawing spell effects with dry erase pens. The miniatures I made using the same process as the buildings except they are double sided and use thinner card. I found the images on google with search terms like “fantasy dwarf line art“, but I highly recommend Printable Heroes, they release line art versions of their designs, perfect for that old school look.
Update
Since writing this guide I have been trying to reduce shopping on Amazon. You’ll find everything you need in hobby stores like Michaels (USA) or Hobbycraft (UK)
Pingback: Paul Kingtiger's Map Printing Method
Pingback: Paul Kingtiger's Map Printing Method